
All of us like cruising far more than maintenance, but neglect is an expensive course to follow. As the promise of spring beckons, our boats call out for attention, and what follows is an exhaustive list of items to which attention should be paid. It will probably seem both over-cautious and overwhelming, but most items require only seconds or minutes of inspection. Unfortunately, the tasks that really must be done are the most time-consuming and physically demanding. On the other hand, a disciplined and methodical commissioning routine makes the work a little easier, the likelihood of costly repairs a lot less, and the enjoyment of worry-free cruising incalculable.
I like to break the job into three discrete phases: outside, inside, and bottom. I allow a half to a full day for each phase with a several day break in between. That way, it doesn’t seem quite so drudge-like, and it gives me time to adapt once again to squirming around in places not meant for the human physique. The timing for the underbody is locked in, rain or shine, by the haul-out booking, but the exterior can be done on any nice day, and the interior whenever convenient. My preference is to start with the exterior, since no one is inspired to work on a boat covered in the grime of winter, whether it’s that green algae on the north side, bird droppings on the canvas, or rain-delivered oily black streaks from a nearby highway or aircraft flight path.
Outside
1. A Thorough Clean It’s important to do a really thorough cleaning of the topsides. Aside from the fact that it’s a lot more pleasant to work—and, eventually, play—on a clean boat, it makes it easier to spot and deal with problems. Don’t forget the interiors of lazarettes and outside lockers. Take care to note leaks, and if necessary, either adjust the latch for a tighter seal, or replace the gasket. Make sure to also clean the lazarette gutters and drains, since they can be the cause of water in the hole.
2. Windows and Ports With a hose blast all windows and ports thoroughly so you can check for leaks. Then, take a plastic putty knife, dip it often in a small container of soapy water, and slide it carefully between all sliding glass panes and the fuzzy stuff in the track. Draw it all the way round and in both directions to break the seal that formed over winter. Try to remove or at least loosen as much of the grunge as possible. Then go inside, and after checking for any leaks around the windows, do the interior side of the tracks. Try to open each of the windows. They can be difficult to free up if they haven’t been opened in a very long time, but persistence will usually succeed. (Never prise with a metal tool, but if you’re very careful, a wide wooden wedge can often get a frozen slider moving.) If all else fails and you still want it to open, the window will have to come out and the track material replaced. Before going back outside, turn on all exterior lights, particularly running lights, so you can ensure they are in good working order. (Don’t forget to turn them off.)
3. Deck Hardware Walk around the decks, and if any softness is sensed, note it. Pay particular attention to safety lines and tune them up. Also check the holding power of each stanchion by pushing on the rail, and look for spider web cracking radiating out from fitting screws. Because stainless steel is only somewhat stainless, and depending on what quality was used, they can show surface rust so this is the time to remove it. Pay particular attention to any fittings that are obviously prone to deterioration.
Sailors will also want to check terminal fittings for cracks and rust, and should routinely check the mast for indications of possible failure at all points where fasteners attach. Examine standing rigging, wire halyards and backstays for rust, crimps, and broken strands.
Lubricate all turnbuckles, then back them off, re-tension, and re-tape. Use a hose to check for leaks around the chainplates, and re-caulk as required. Examine all sails for condition, and, if necessary, reverse or replace halyards and other lines. Lubricate winches, and check line stoppers for holding power.
4. Ground Tackle Set the anchor on the dock, pull all the chain and/or rode out of the anchor locker, and lay it out for cleaning and inspection. Look carefully for any signs of wear or weakness, especially with connecting hardware and the stainless steel seizing wires. If the rode is dirty, consider taking it home to launder with soap. Before replacing the ground tackle, refurbish the depth markings with spray paint, bottom paint or tags that won’t foul the gypsy. (Since anchoring is an imprecise art, my experience is when things become tense, a few, very large easy-to-read marks are better than many smaller, complicated ones.) Test the windlass by using it to retrieve the rode and anchor, and don’t forget the down switch. Now turn on the anchor wash-down hose.
5. Accessories Make sure all the gear that should be on the boat is present, for example, the life ring, boat hooks, spare anchor, and stern-tie lines. Clean the barbeque if it wasn’t done last autumn, and fire it up to make sure it still works.
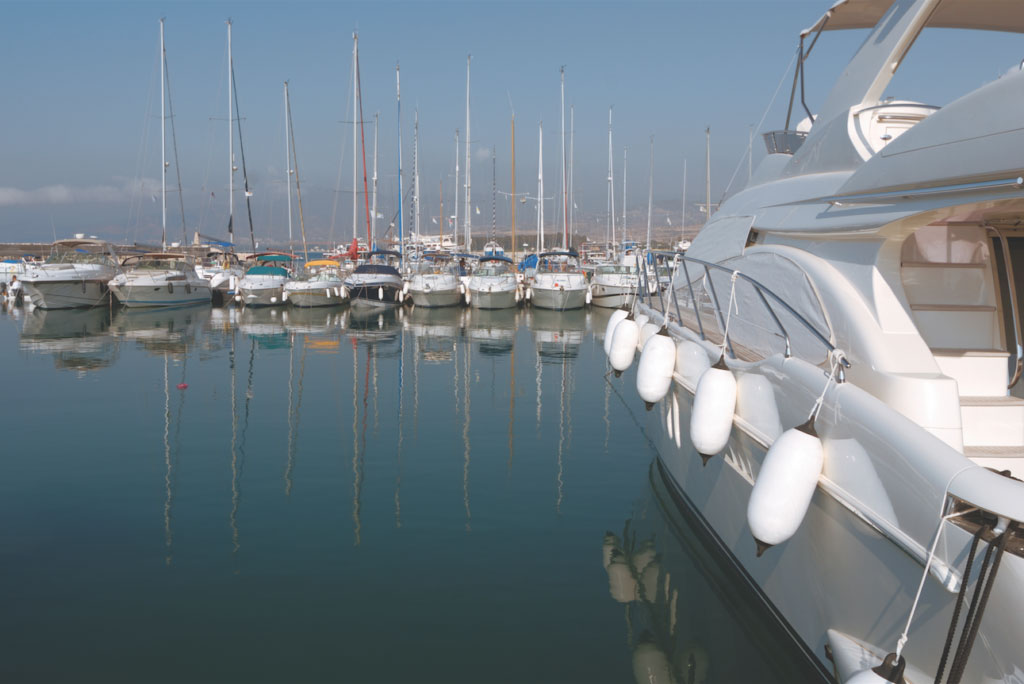
How have the dock lines and fenders fared over the winter? The former are probably repositories of algae and possibly chafed, the latter quite dirty and somewhat deflated. Do the necessary. Unplug and examine both ends of the shore power cord and any adapters for signs of overheating such as discoloration or stiffness in the wire near the plugs. If anything seems awry, it’s important to replace the cord and adapter, and to determine and repair the root cause before re-connecting.
6. The Dinghy Now check the dinghy for damage or air leaks, and ensure the mandatory emergency kit is complete, the flashlight battery is still fresh, and the container remains watertight. Are the oars still there? Service the outboard engine, and check the prop for dings. Empty the tank of any old, untreated fuel and replace with fresh. (Make sure to dispose of petroleum waste responsibly.) Ensure the engine starts and runs properly, and the stream shows the water pump is providing adequate cooling.
The outside is now done. Take a long break.
Inside
7. Living Areas It’s probably better to start in the living areas, otherwise some of these little checks just might not be made. Confirm all interior lights are working, and test all GFI circuits. Put new batteries in propane, carbon monoxide and smoke detectors. Determine whether date-sensitive items such as fire extinguishers, flares, inflatable life jackets, life raft, and so on are current, or replace them as required. Check any propane system(s) and connections, and ensure the vent in the propane locker is not blocked by the other stuff that inevitably gets stowed there, and that the tank is secured.
Turn on the solenoid and light the stove. Replace in-line water filters before turning on the fresh-water pump. Flush the toilet, and if it’s a Vacu-flush listen for the pump to shut off. If bedding was left on the boat, lift it up layer by layer, and both look and smell for mildew.
8. Helm Station Return to the helm(s), turn on all electronics, and ensure each is working properly. Request a radio check on VHF 22 for each radio. Turn the wheel while watching the rudder angle indicator if one is installed or available on the autopilot. If the wheel seems too light, or the rate of change as evidenced on the rudder angle indicator is too slow, or the wheel does not stop turning, top up the hydraulic fluid or check the drive mechanism. Turn on any thrusters and blip the boat to either side.
9. Systems Check Time to descend. In the tank room, check the sight gauges on the fuel tanks and note the levels. (Remember to turn the stop-cocks off again.) If lead-acid battery banks are installed here, remove the box covers and look for signs of boiling.
If there are none, top up each cell with distilled water, and test the electrolyte readings in each cell. (It’s a very good idea to wear old clothes for this task, because you will almost certainly find acid holes in them a few days hence.) If any cells fail, the battery will have to be replaced, and, unfortunately, if it’s part of a bank, the entire bank should be replaced.
In the engine room, start by ensuring the engine and generator spares kits are complete. Check all hose clamps (which should be doubled), and replace any hose that shows cracking or areas of softness; ensure control cables are properly fastened and otherwise free and clear, that the propeller shaft and stuffing boxes are not leaking other than the required drop per minute when operating, and that all fuel lines, vent and fill hoses remain un-kinked and in good condition. Run your hand over the muffler for any salt on the exterior, a sign of seeping. Tap on the fibreglass housing. If there are any signs of weakness, it must be refurbished.
Remove the engine’s fan shroud, if any, and inspect and tension the serpentine belt that drives several key components. If it’s not in pristine shape, replace it. With a strong light, look for any evidence of leaks around the water pump, and, if necessary, take remedial action. Replace the shroud.
Replace fuel filters as well as the pencil zincs in the engine’s cooling system, and check your manual to ensure you get all of them. Most generators on pleasure boats do not have zincs, but check your manual to be sure.
Clean the strainers, open all sea-cocks, and start the engine and generator in turn to warm them, then change the oil and the oil filters. Check the transmission oil level, and change it according to the recommended schedule. Re-start both and ensure there are no leaks from the filters. Re-check oil levels after shutting down. Clean the bilges and lay down oil absorbent mats.
While mechanics recommend that exhaust manifolds be removed and inspected for corrosion every few years, and that the core be removed from the heat exchanger to check for scale build-up, you can avoid or considerably extend the intervals between these tasks. Buy a laser thermometer, approximately $30, and routinely take the temperature of each exhaust manifold and each exhaust manifold elbow when the engine is at normal operating temperature. The latter tend to wear from the inside out because of the abrasion of hot water under pressure. Create a chart at the back of the log, and record the temperatures. If any increase is noted, pull the manifolds and elbows.
Similarly, so long as no increase in engine operating temperature is detected, the heat exchanger core is doing its job. However, if engine temperatures start to rise above normal and the coolant level is correct, the two most likely culprits are the water pump and the heat exchanger core.
While in the bilges, sailors should also check the tightness and condition of their keel bolts in the same manner as described for skeg bolts in the next section.
That’s it for the inside. Take another break.
10. Bottom
When the boat is hauled, pressure wash the bottom and running gear. (Be very careful not to spin the water speed paddlewheel since doing so can ruin its magnets.) Examine the prop for visible damage, and tap it to determine if electrolysis is a problem—it should ring clear. Unfortunately, even with all the growth removed, the propeller and rudder will still have an ugly coating, so if you’re really keen, polish them up and coat all running gear with shellfish preventive.
Look for blisters or other damage to the hull, and try to wobble the rudder post to check the cutlass bearing for play.
If a skeg is attached to the keel, tap the bolts with a small hammer just enough to see if any move sideways in any direction. If even only one moves, replace them all. When starved of oxygen stainless steel can waste away.
Examine bow and stern thrusters, propeller, rudder, rudder post, skeg, and so on, and replace any zincs that are missing, or any that have less than 50 percent in remaining weight.
Check all thru-hulls and replace any that are plastic if there is any sign of deterioration or problems with the chalking. Ensure that all sea strainers are undamaged and clear of debris. With the bottom dry and clean, it’s ready to be repainted or touched-up as necessary. (Note: do not paint over transducers.)